 No-Bake Strawberry Cheesecake, old
school!
No-Bake Strawberry Cheesecake, old
school!
For 9 X 13 inch pan.
Crumb crust
1/2 C butter
2 tbsp brown sugar
Melt in ‘Mike’ for a minute or two
and stir to dissolve sugar. Blend into
2 C oreo crumbs
Pat firmly and evenly into pan.
Cheesecake filling
2 pkg Dream Whip, prepared as per pkg instructions with
1 C 2% milk and 1 tsp vanilla
250g / 8 oz cream cheese (room temp)
1/2 cup sugar
With hand mixer, beat cream cheese,
add sugar. Fold in prepared
Dream Whip and mix.
Pour over top of crumb base and let
set in fridge
while you make topping.
Strawberry
Topping
1 pkg
Strawberry Jello - dissolve in 1 C boiling water and stir until dissolved. Add
600g/3
C frozen sliced strawberries and stir well.
Put in fridge and let set slightly, not
more than 5 min - jelly should mound slightly - and
then spoon thin layer over cheesecake.
Cool & refrigerate for at least 4
hrs or overnight.
Here's
the recipe, but what you might like to know - this is an old recipe, from the
70s or earlier, maybe. My niece asked me for it, something that her grandma, my mom, used
to make. Well, to be honest, at my house the recipe was non-existent - I have
graduated to a more sophisticated style of baked cheesecake. In fact, when my
'baby' sister, Marnie came forth with the recipe, I wondered if one could even
buy 'dream whip' any more. It turns out that you can. I forwarded Marnie's
hand-written, scanned recipe to Lauren and then spent an almost sleepless night
worrying about the pitfalls of the recipe - the topping merely said mix jello
with frozen strawberries - I knew that wasn't all there was to it! I decided
that I felt so bad about giving her a recipe without test-knitting (I mean test
cooking) it myself that I would make it to be sure it worked okay. Went and
bought the supplies - what do you know? - the box of frozen strawberries that I
remember from the original recipe is no longer available (thank heaven!) - it
was sliced strawberries packed in syrup (very sweet) in a box about 2"X5"X6"
(just guessing here). I settled for a 600g bag of sliced strawberries, nothing added.
 I'll
start at the beginning...when I'm making
something in a cake pan I always line the pan with a sling of tinfoil - I have
two weights of foil - the heavy duty one, 18" wide, for using on the
grill/BBQ and the regular, thinner one, 12" wide, For this project, use
the lighter weight - if it was a baked item, I use the heavier foil. Pull off a
long piece of foil for the length of the pan, plus up each end and maybe 2
inches each end more. Fold it in from each side so it rolls up the edges of the
bottom of the pan by about a half inch and overshoots each end to make handles.
Press into bottom of pan. Pull off another sheet to cover the width (you
shouldn't have anything to fold in on this part) and leave handles at each side
and press in over the other piece. Usually I will now spray the sling with that
non-stick cooking spray but because this is no-bake, I used my fingers to
lightly butter the bottom so the crust will release easily. Reason for foil
sling: I can lift out the finished product, place it on a cutting board and use
a large knife to press down from the top to cut into squares evenly instead of
trying to cut it in the pan which creates problems. Also if I am making several things, this makes
the same pan easily emptied after the item is chilled, for another product and you can usually fold the foil over the top and store it in the fridge again on a plastic tray or whatever you have to support the size of the cake.
I'll
start at the beginning...when I'm making
something in a cake pan I always line the pan with a sling of tinfoil - I have
two weights of foil - the heavy duty one, 18" wide, for using on the
grill/BBQ and the regular, thinner one, 12" wide, For this project, use
the lighter weight - if it was a baked item, I use the heavier foil. Pull off a
long piece of foil for the length of the pan, plus up each end and maybe 2
inches each end more. Fold it in from each side so it rolls up the edges of the
bottom of the pan by about a half inch and overshoots each end to make handles.
Press into bottom of pan. Pull off another sheet to cover the width (you
shouldn't have anything to fold in on this part) and leave handles at each side
and press in over the other piece. Usually I will now spray the sling with that
non-stick cooking spray but because this is no-bake, I used my fingers to
lightly butter the bottom so the crust will release easily. Reason for foil
sling: I can lift out the finished product, place it on a cutting board and use
a large knife to press down from the top to cut into squares evenly instead of
trying to cut it in the pan which creates problems. Also if I am making several things, this makes
the same pan easily emptied after the item is chilled, for another product and you can usually fold the foil over the top and store it in the fridge again on a plastic tray or whatever you have to support the size of the cake.

 Now,
for the crust - it's cookie crumbs and for a no-bake item I always found this
crumbles too easily, breaks up and generally is crummy! I melt the butter and
sugar together in the microwave, to dissolve the sugar and caramelize it into
the butter - so make sure you use a big-enough measuring cup or bowl - mine is
the 4 C one because this is going to boil in the 'mike' and you don't want it
overflowing the container. Put it in for 30 seconds, stir it a bit - do this
several times until you see the sugar is incorporated - oh and I always use
brown sugar here - it adds more flavour whether it is the regular graham crust
variety or the oreo one. Now, add the 2 cups of crumb to the same container,
stir it around to moisten all the crumbs well, then dump it into the pan.
Now,
for the crust - it's cookie crumbs and for a no-bake item I always found this
crumbles too easily, breaks up and generally is crummy! I melt the butter and
sugar together in the microwave, to dissolve the sugar and caramelize it into
the butter - so make sure you use a big-enough measuring cup or bowl - mine is
the 4 C one because this is going to boil in the 'mike' and you don't want it
overflowing the container. Put it in for 30 seconds, stir it a bit - do this
several times until you see the sugar is incorporated - oh and I always use
brown sugar here - it adds more flavour whether it is the regular graham crust
variety or the oreo one. Now, add the 2 cups of crumb to the same container,
stir it around to moisten all the crumbs well, then dump it into the pan.
Here's another trick - pull off a sheet of waxed paper or cling wrap, lay it
over the crumbs and now you can press down on it to smooth it out, press evenly
to get a nice layer that should cut and stay together when serving. Stick this
in the fridge and proceed to the cheese filling.
 Make
sure your cream cheese is at room temp - if not, unwrap it and 'mike' it on
defrost for maybe 10-20 seconds, depending on how new or old your mike is - mine
is old and I do try to be careful - you just want to soften the cream cheese,
and warm it a bit so it is spreadable, not chunky. Make the 'dream whip' as the
package instructs - it does help to chill the bowl and make sure your milk is
cold. I used my 2-litre measuring cup here - just showing off ;-) - I got it at
Ben Franklin in Grand Marais! Do the dream
whip first and then you can use the beaters without having to wash them to mix
the cream cheese and sugar ( I used brown sugar again, same reason, more
flavour) in another bowl. Once the cheese mix is smooth and creamy, use a
spatula to fold in the dream whip, mix it thoroughly and dump into the pan over
the crumb crust. Smooth it out and put back in the fridge.
Make
sure your cream cheese is at room temp - if not, unwrap it and 'mike' it on
defrost for maybe 10-20 seconds, depending on how new or old your mike is - mine
is old and I do try to be careful - you just want to soften the cream cheese,
and warm it a bit so it is spreadable, not chunky. Make the 'dream whip' as the
package instructs - it does help to chill the bowl and make sure your milk is
cold. I used my 2-litre measuring cup here - just showing off ;-) - I got it at
Ben Franklin in Grand Marais! Do the dream
whip first and then you can use the beaters without having to wash them to mix
the cream cheese and sugar ( I used brown sugar again, same reason, more
flavour) in another bowl. Once the cheese mix is smooth and creamy, use a
spatula to fold in the dream whip, mix it thoroughly and dump into the pan over
the crumb crust. Smooth it out and put back in the fridge.
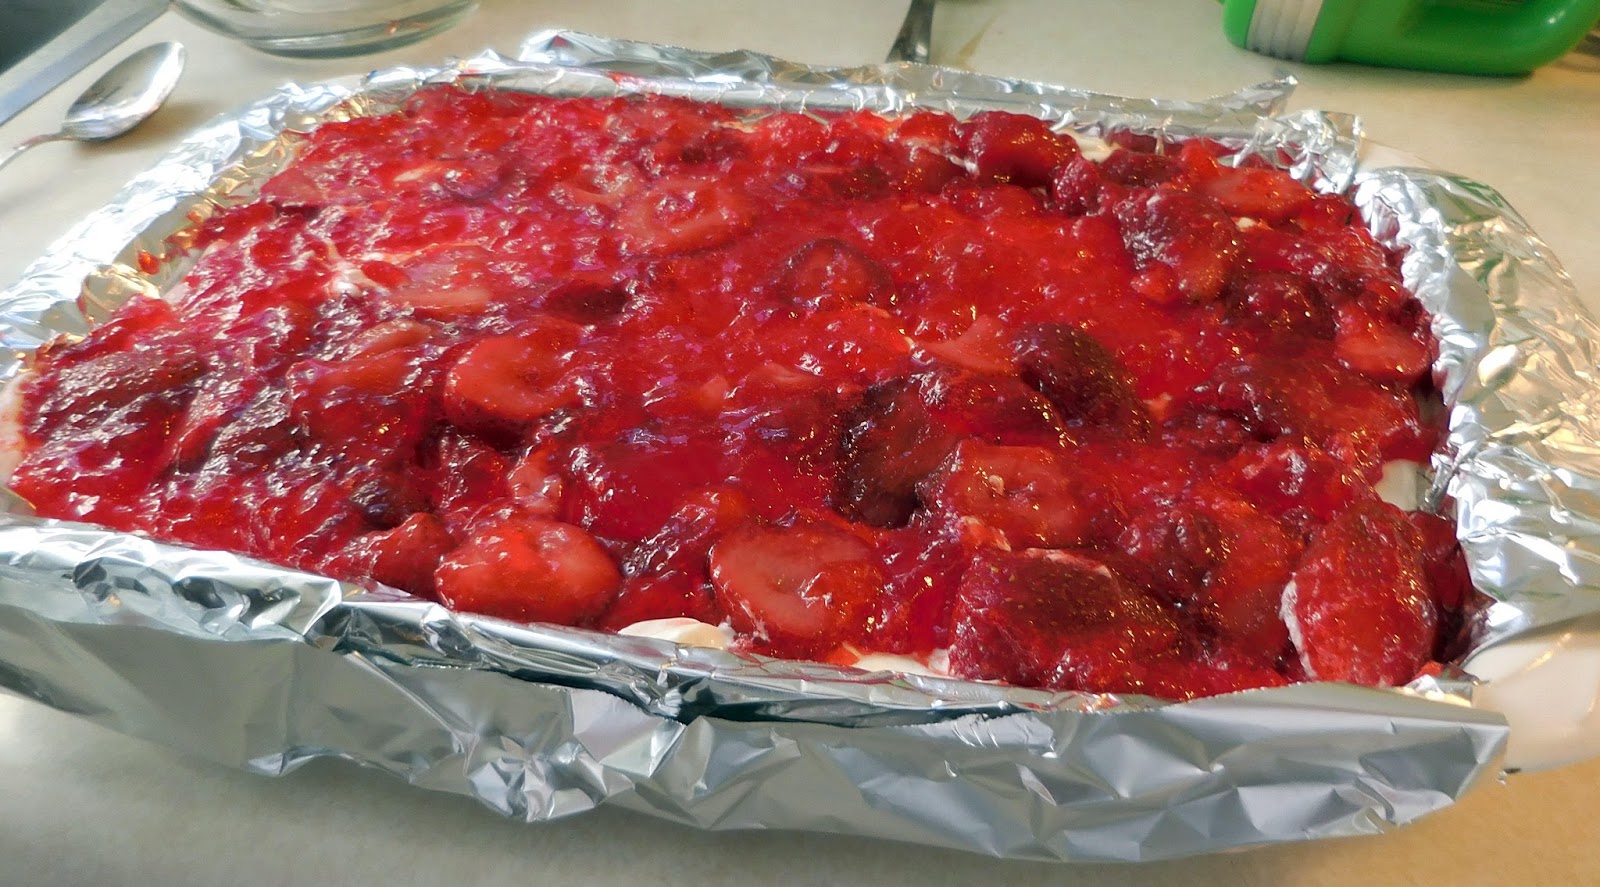
Now for the topping.
I cleaned my 2L cup and put the jello powder in. Add the jello and whisk it until
all the gelatin beads are dissolved. Add 3 cups of frozen sliced strawberries
and stir for a minute or so - the strawberries will thaw and cool the jelly. Let
it sit briefly until the jello mounds - don't leave it too long because it will
set rapidly at this point. Spoon it over the cheese mixture and you're done!
 A
pretty easy, family-friendly dessert that should take no more than half an hour
to make the night before you want to serve. Cut it in 3 lengthwise and then 4
times for 15 good sized pieces or smaller if you need.
A
pretty easy, family-friendly dessert that should take no more than half an hour
to make the night before you want to serve. Cut it in 3 lengthwise and then 4
times for 15 good sized pieces or smaller if you need.
I
had to taste-test it, of course. It's perfectly fine for a family gathering,
good for the nostalgic value and not too sweet!
 She always put it in a large, glass pie plate, the
10 inch Pyrex one but I use a 7 X 11 glass pan. It's easier to make the sling
(see the no-bake cheesecake) and neater to cut into square pieces without getting
a bunch of weird triangles. Make it at
least 1 month before you want to give it; hide it (or you'll eat it all
yourself) and age it - it turns into a
soft, crumbly goodness!
She always put it in a large, glass pie plate, the
10 inch Pyrex one but I use a 7 X 11 glass pan. It's easier to make the sling
(see the no-bake cheesecake) and neater to cut into square pieces without getting
a bunch of weird triangles. Make it at
least 1 month before you want to give it; hide it (or you'll eat it all
yourself) and age it - it turns into a
soft, crumbly goodness!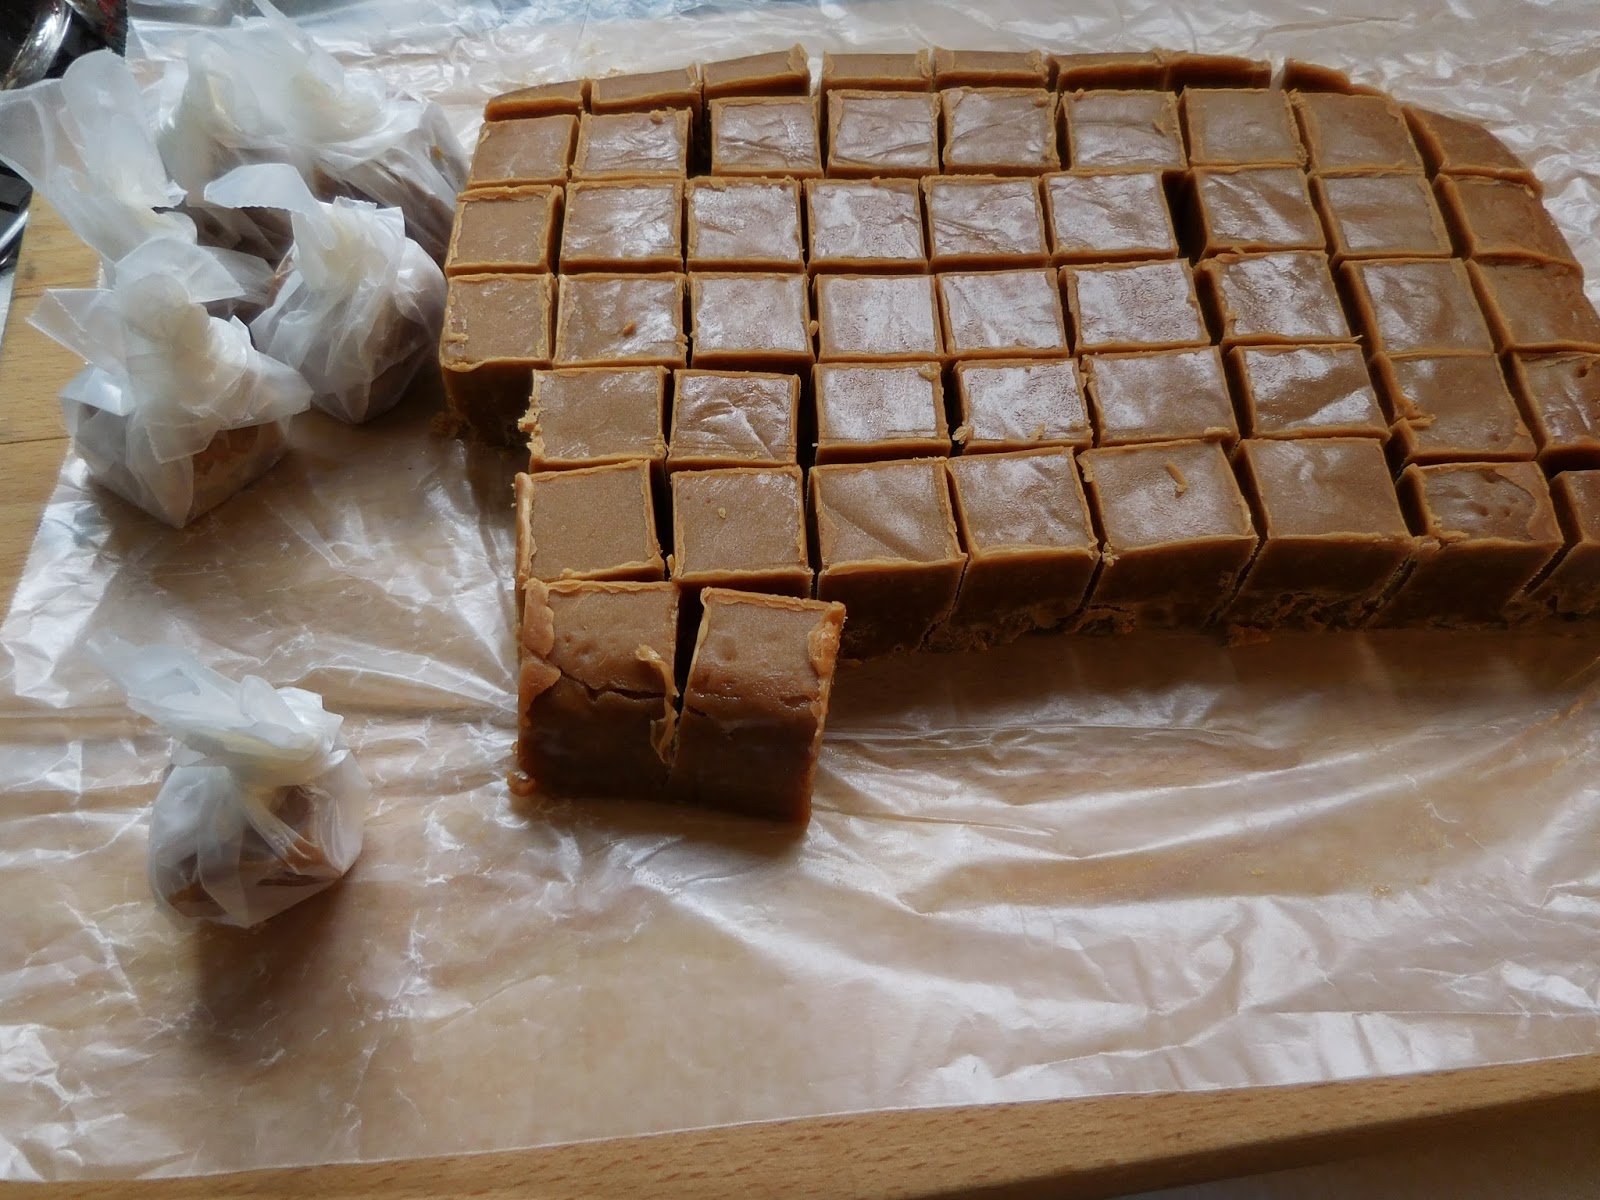 Take out and warm to room temp to cut into squares,
about 1 inch - Grandma was more generous, but I like the smaller size. Wrap in
waxpaper squares or 5 to 6 inch square foil candy wrappers.
Take out and warm to room temp to cut into squares,
about 1 inch - Grandma was more generous, but I like the smaller size. Wrap in
waxpaper squares or 5 to 6 inch square foil candy wrappers.
 As
I was making this, a test batch for my niece's (photo at left - Grandma and Lauren, 1981), wedding in September, I recalled my
mom's stirring instructions. You had to go around the outside of the pan and
then make a figure-eight through the middle a couple of times and repeat the
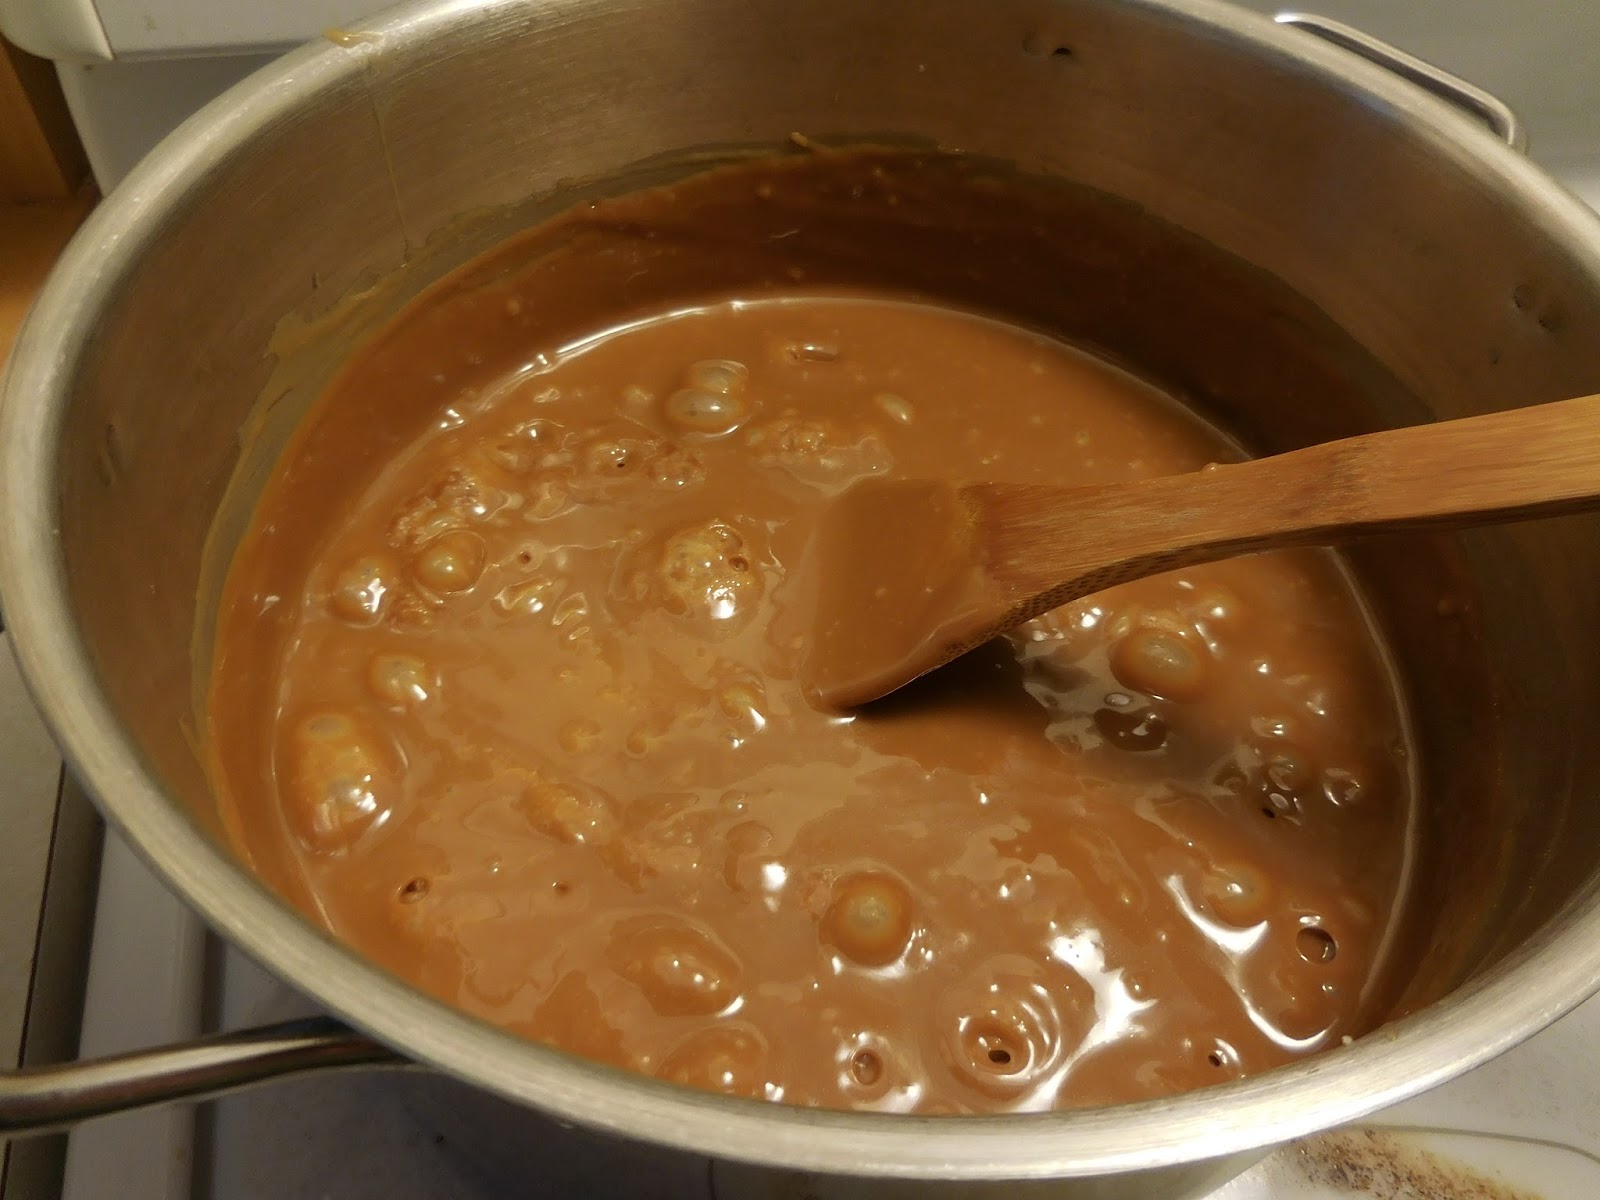
outside and over and over. We had plenty of kids -there were 10 of us (black & white photo above - Marnie, the baby, yet to come and Mike is missing...) waiting
to take a turn when the current stirrer got tired. It did seem to take forever
for the toffee to be the right colour - Mom didn't have a candy thermometer and
relied on the colour to be right before she would do the test of dropping it in
the cold water. We were willing to stir because we all wanted to be the kid on
hand to test the dropped, cooled piece. Sometimes it would be overdone (too hot
and it gets too brown, I think) and then there was no cutting the toffee. It
was too hard, like glass and had to be broken into shards. Either way, we kids loved
it and it was one of our family Christmas traditions. All her grandchildren
remember her Christmas toffee and now, I'm the grandma making the toffee.
As
I was making this, a test batch for my niece's (photo at left - Grandma and Lauren, 1981), wedding in September, I recalled my
mom's stirring instructions. You had to go around the outside of the pan and
then make a figure-eight through the middle a couple of times and repeat the
outside and over and over. We had plenty of kids -there were 10 of us (black & white photo above - Marnie, the baby, yet to come and Mike is missing...) waiting
to take a turn when the current stirrer got tired. It did seem to take forever
for the toffee to be the right colour - Mom didn't have a candy thermometer and
relied on the colour to be right before she would do the test of dropping it in
the cold water. We were willing to stir because we all wanted to be the kid on
hand to test the dropped, cooled piece. Sometimes it would be overdone (too hot
and it gets too brown, I think) and then there was no cutting the toffee. It
was too hard, like glass and had to be broken into shards. Either way, we kids loved
it and it was one of our family Christmas traditions. All her grandchildren
remember her Christmas toffee and now, I'm the grandma making the toffee.